 |
The following pictures document how two boomerangs are made from "natural elbows". If you want to make one yourself, feel free to visit one of my workshops!Splitting the natural elbowOnce you have found the right branch you can either cut it by using a hand saw or a electric one. According to Philip Jones great book "Boomerang - Behind The Australian Icon" the Aborigines split the wood in two by using a stone or steel axe. |
 |
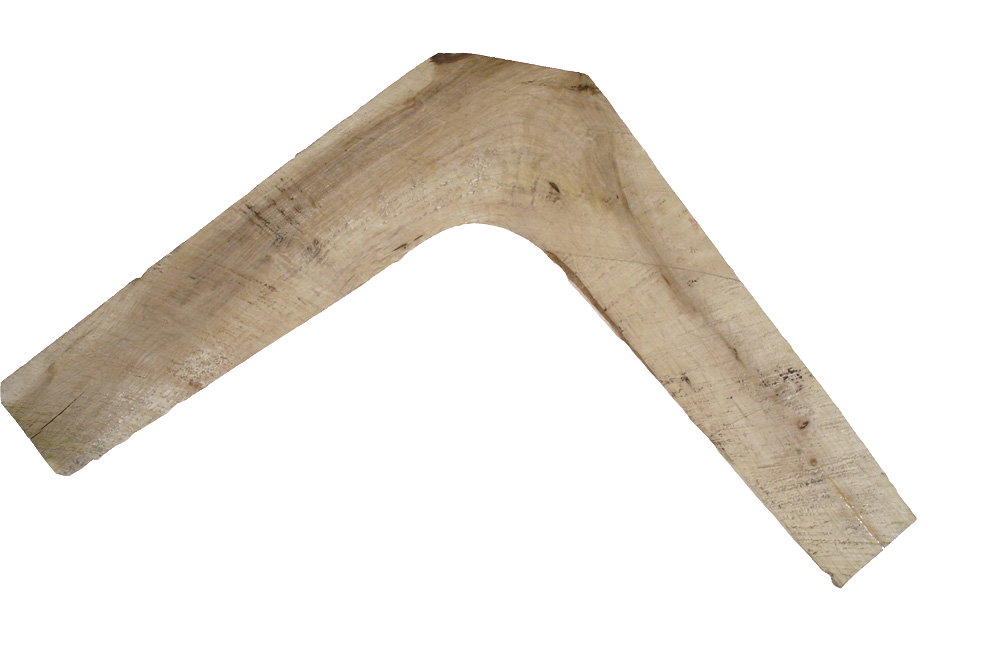
The outsideHere you can see one half of the natural elbow. This is how the oak branch looked like when it was found. |
 |
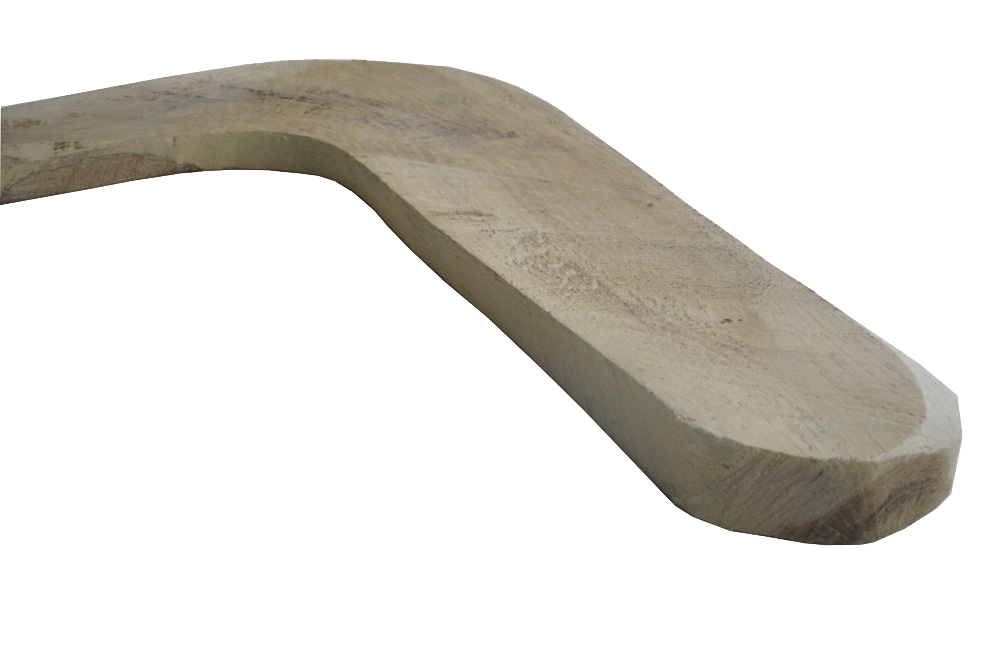
The insideAnd this is how the branch looks like when it is cut in two halfs. |
 |
A rough cutAfter a second cut, the boomerang slowly assumes shape. The basic form is an approximately 1,5 cm thick board. |
 |
Shaping the profileThe airfoil is applied by using a rasp and a file. At this point you have to be shure whether you make a left or right handed boomerang. The leading edge in roation is round, whereas the following edge is sharp. |
 |
Its getting darkThe airfoil was rounded with sand paper. The Australian Aborigines harden their boomerangs over fire. And I follow their example. |
 |
BlackThe entire boomerang has been darkened over fire. |
 |
IncessionsThe boomerang was sanded off once more. Afterwards I incised parallel patterns in the wood. This is a common practice in traditional boomerang making. Boomerang specialists assume this to improve the air flow properties, similar to the little bumps on a golf ball. |
 |
Close upThis is how the final boomerang surface looks like. The hardened surface was grinded off and colored with ocre mixed with oil. |
 |
FinishedAfter several rounds of hardening and grinding off, this is how the boomerang finally looks like. |
 |
NutThis piece of nut wood was the basis of one my most beautiful boomerangs. |
 |
CutThis is how the wood looks like after it has been cut in two halfs. |
 |
FinishedAfter the final graining rounds the boomerang is finished. |

